Continuing the confection of the layout we will now move on to the Board routing the MSP430-F2013.
First, we must create a barrier that will limit the area of the plate with Obstacle Tool. Now let's position the components with Component Tool, as a convenience for the best routing, watching the links so that there is less junction of routes. If you do not have patience to make a hard manual work and want to automatically route, you must first go into OPTIONS, Route Strategies, Route Layers and disable all icons with the Botom. Will now have to go in AUTO, Autoroute, Board. Otherwise click the button "add/edit mode" and draw the trails starting from part of signup, after feeding. Remember that automatic routing is a quick solution for routing only, it is strongly recommended to do manually for the the better use of space.
If you're hardcore and will do it manually start by developing digital signal extends from MSP and after passing to the analog. Finally do the routing of Vcc and GND, remembering that if you reach a point where spare some vi to be linked, but it is not possible to do without crossing other tracks, you can add a jumper, just add a resistor 0Ω in the Schematic Capture.
To update the layout where there has been some change in the schematic, one should keep open the Layout Plus and the Capture, this should go on Create Netlist and select "Run ECO", returning to this layout should ask to update automatically.
To add a footprint created an existing component you must right-click on the component with the Component Tool button and select Properties and then Footprint in new tab choose the desired footprint.
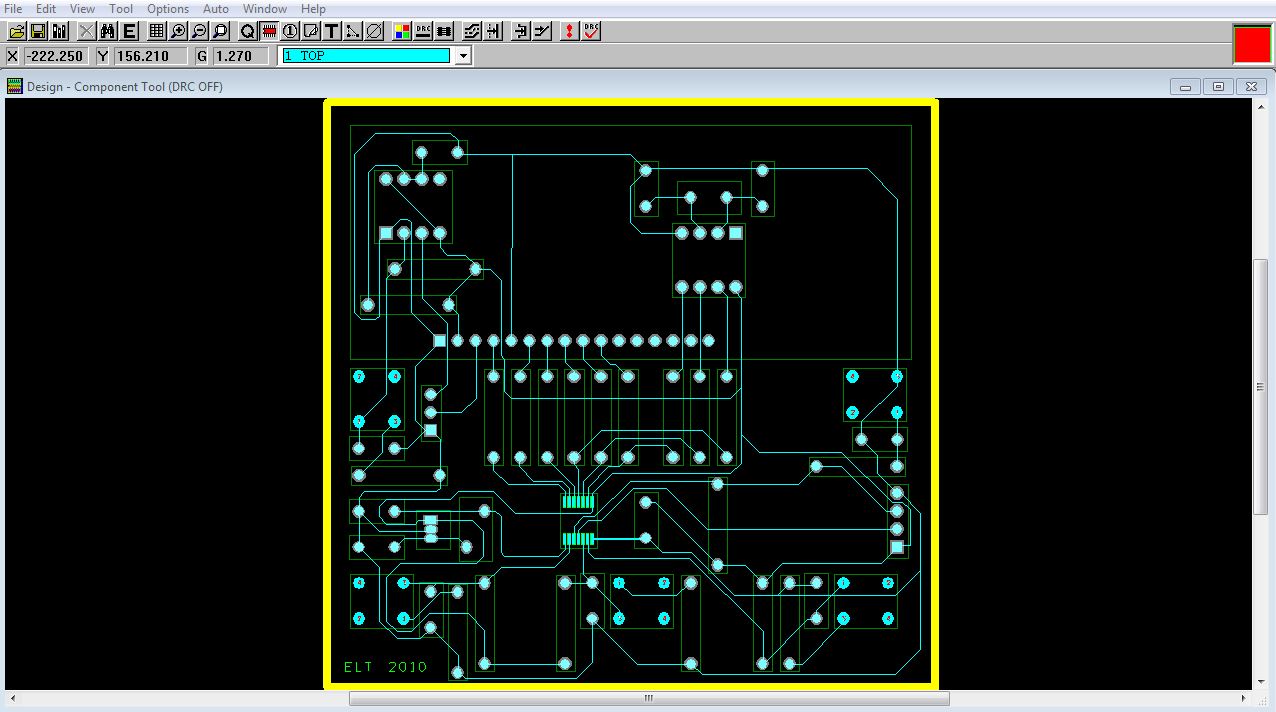
Then we should have a layout as below:
Nenhum comentário:
Postar um comentário